
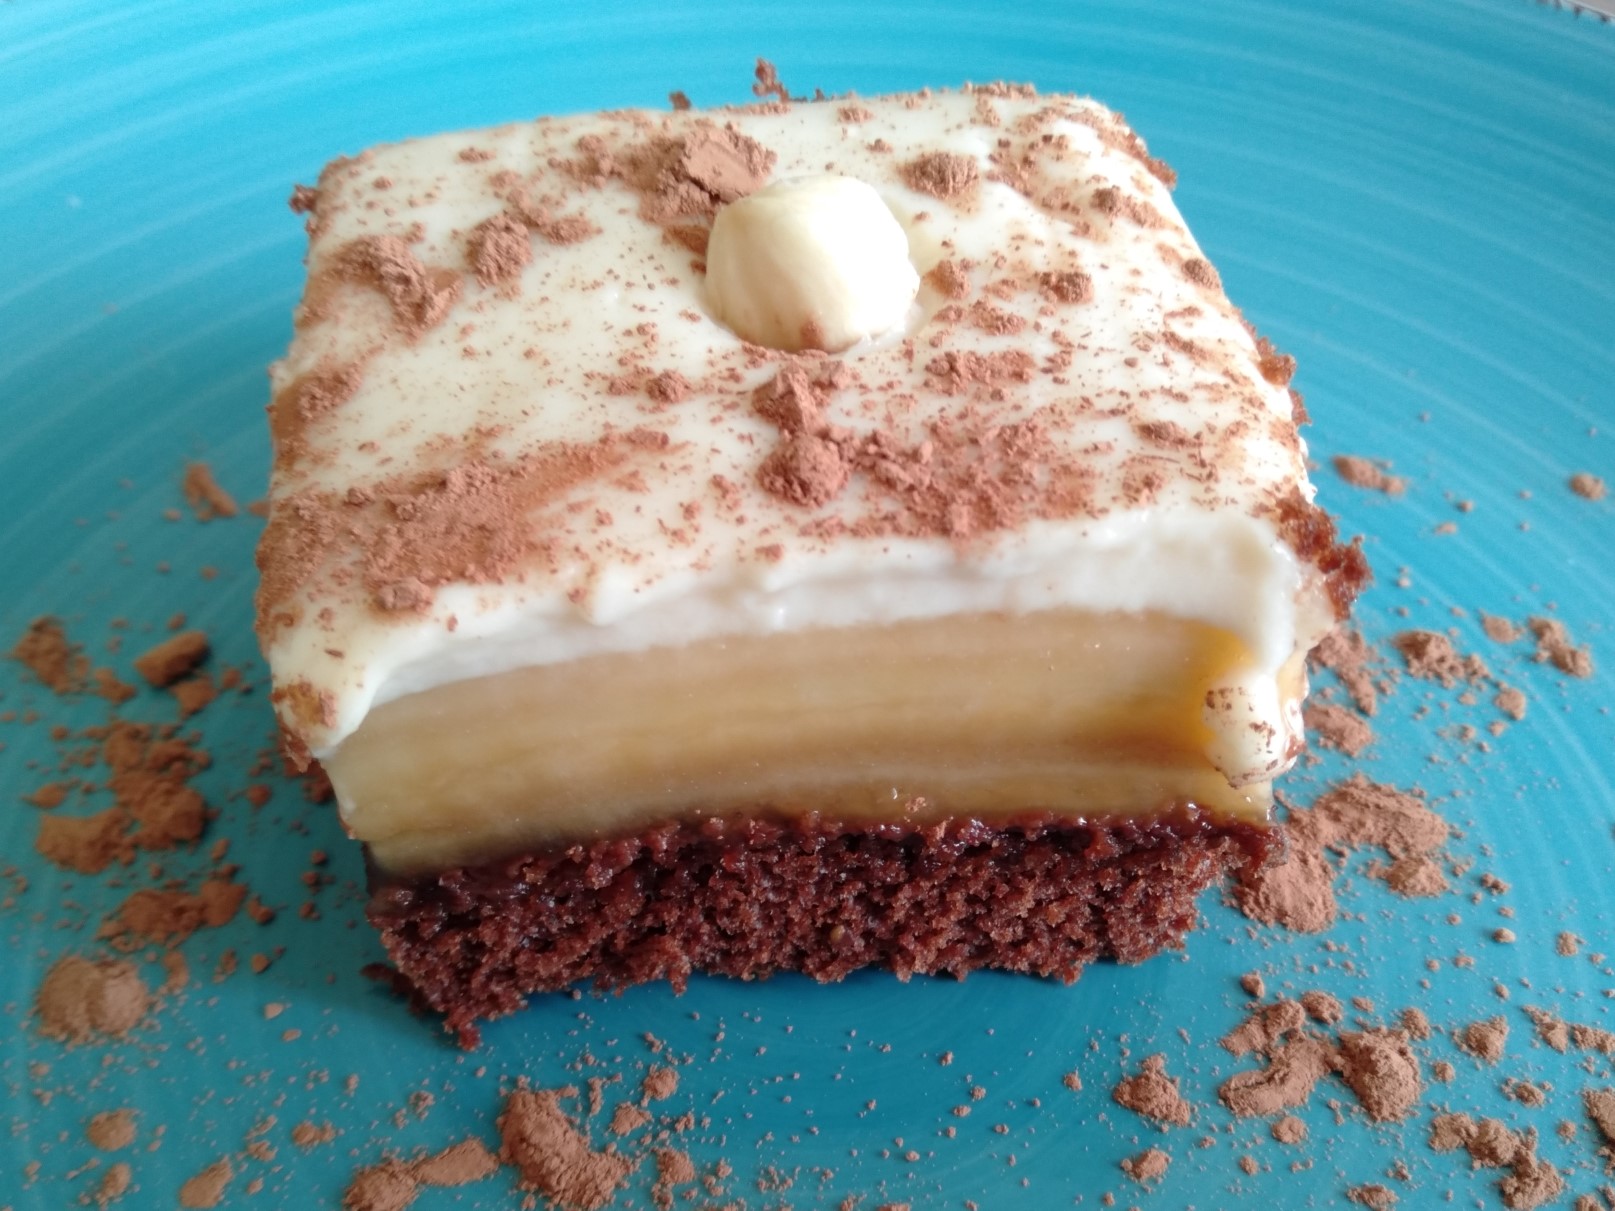
Cake w/ Bananas & Custard
Cake Ingredients:
- 3 Eggs, separated
- ½ c. Sugar, divided
- 1/3 c. Milk
- 1/3 c. Oil
- 1 T. Vanilla
- ¼ c. Cocoa
- 2/3 c. Flour
- 2 ½ tsp. Baking Powder
Fruit Layer:
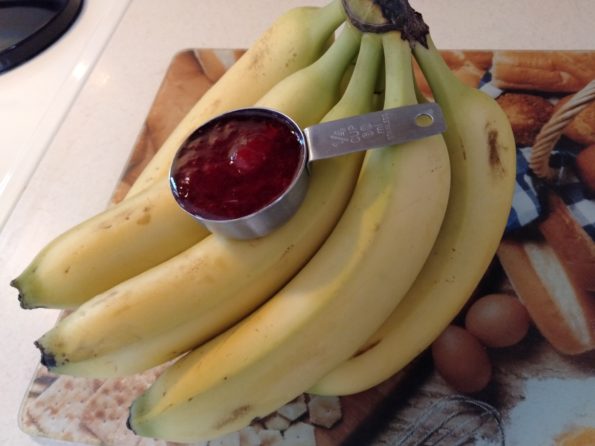
- 1/3 c. Strawberry Jam
- 7 Bananas, cut in half lengthwise
Custard Ingredients:
- 4 c. Milk
- ¼ c. Flour
- 1 T. Cornstarch
- 2 T. Vanilla
- 1/3 c. Sugar
- 1 Egg
- 1 T. Butter
- To make the cake: In a small bowl, beat together 3 Egg Whites and ¼ c. Sugar until stiff. Set aside.
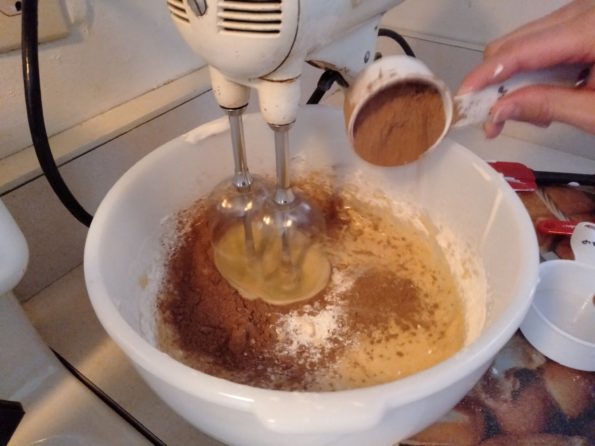
- In a separate, larger bowl beat together 3 Egg Yolks and ¼ c. Sugar until frothy. Beat in remaining cake ingredients. Gently fold in the stiffened Egg Whites.
- Pour cake batter into a greased 9×13-inch baking pan.
- Bake at 335oF until toothpick inserted in the center comes out clean (about 25 minutes).
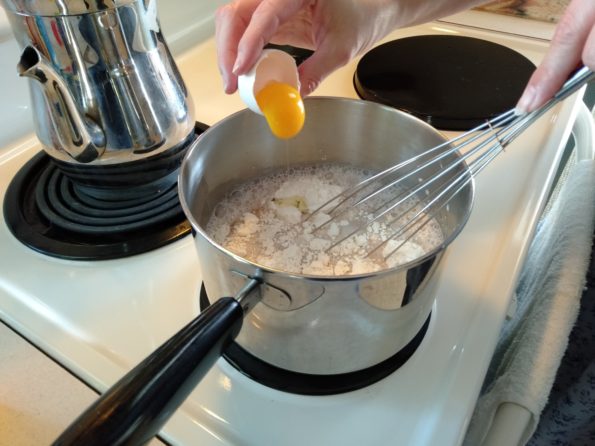
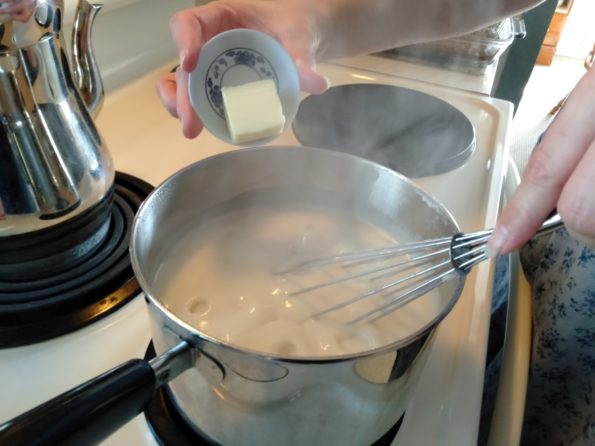
- While cake is baking: whisk together all custard ingredients except Butter in a medium pot on the stove over medium-high heat. It is important to whisk almost constantly to prevent sticking and burning on the bottom of the pot. Once the mixture begins to bubble, add the Butter and time for 5 minutes as you continue to stir. By now the custard should start to thicken. Remove from heat and allow to cool while you prepare the cake.
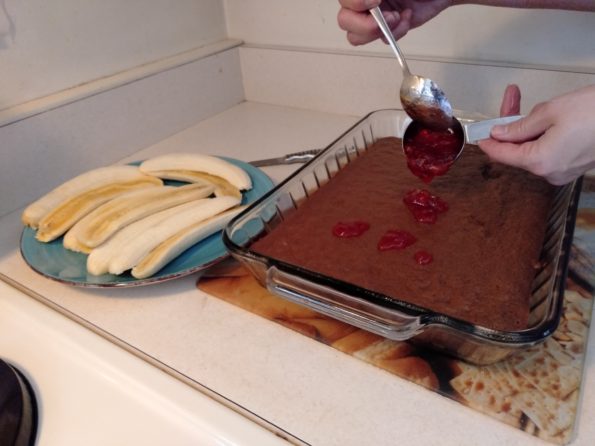
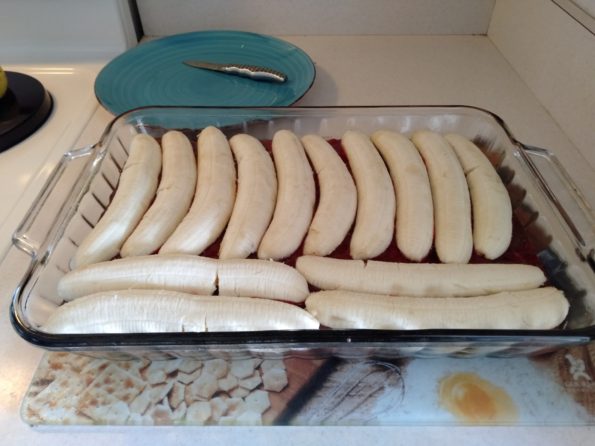
- Once the cake has cooled to room temperature, gently spread Strawberry Jam on top of the cake.
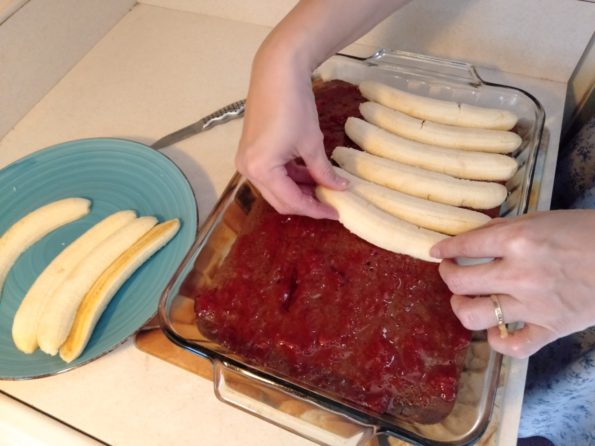
- Place the long slices of Banana on top so that there is a solid layer of fruit on top of the cake.
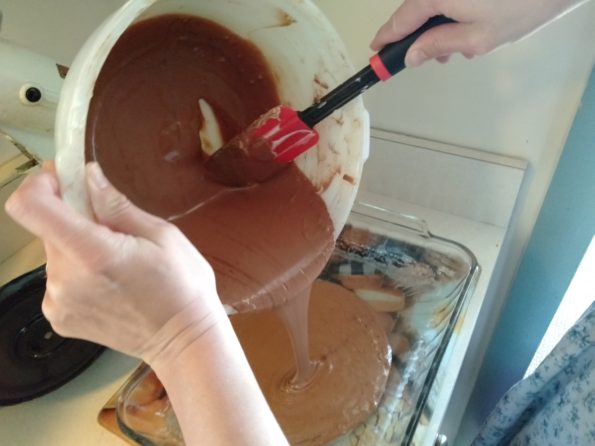
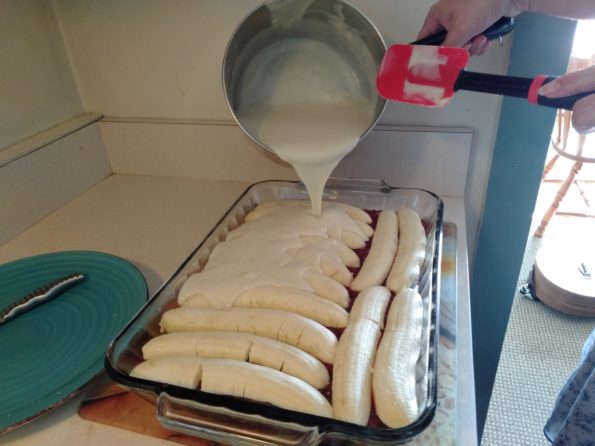
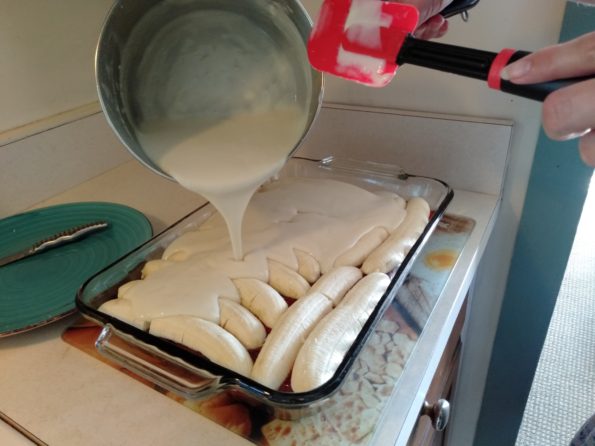
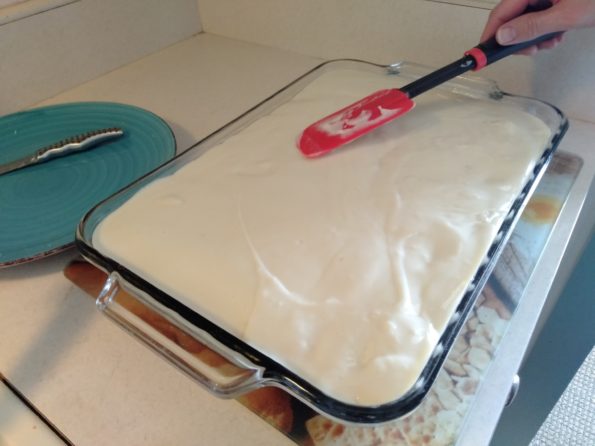
- Pour the custard on top of the fruit layer. Let stand at room temperature until cool.
- Cover with plastic wrap and refrigerate overnight so the custard will set fully.
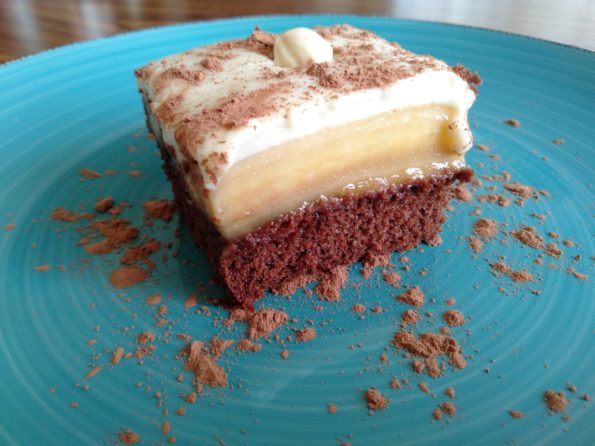
- Once fully chilled, cut into pieces. Dust the top with Cocoa Powder and garnish the center of each piece with a hazelnut or strawberry. Enjoy! (This dessert is best enjoyed within a day or two of being made. After that the bananas start to go bad.)
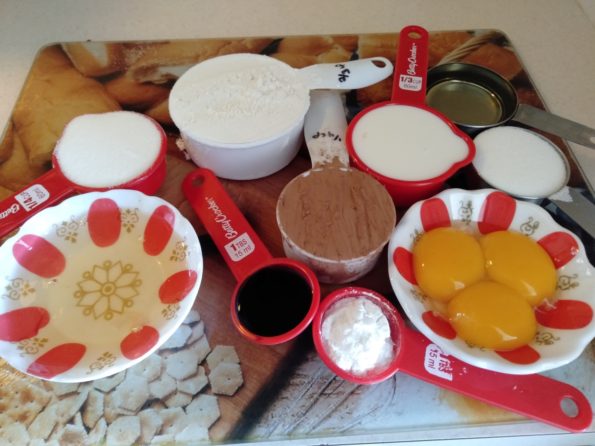
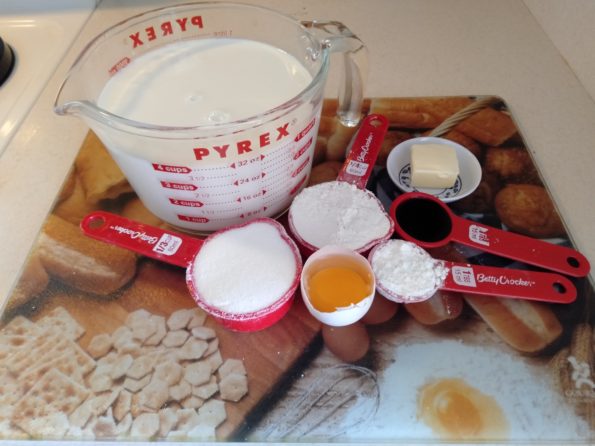
Cake Ingredients ready to go
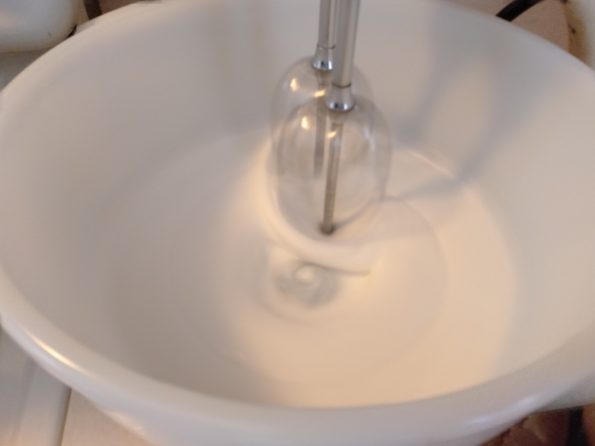
Step 2 & 3

Step 5: Making the Custard
Adding the Fruit Layer to the cooled cake

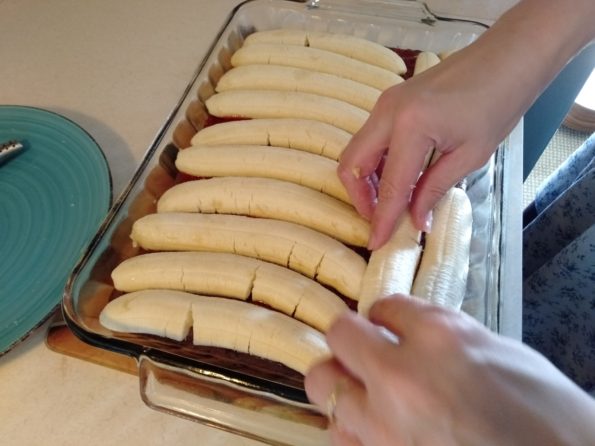
Step 8
Enjoy

Leave a Reply